
I have previously posted a number of blogs that, in some way or another, speak to functionality Microsoft deprecated. Specifically:
SharePoint Online no longer supports automatic import of EXIF properties after image upload
This blog articulates how you surface at least some EXIF metadata embedded in media-type assets / files with a specific focus on EXIF metadata that may be embedded in photo or image type files.
Some of the same concepts described in this blog may quite possibly apply to other types of media files, but that is beyond the scope of what is detailed in this blog at least.
First though, I highly recommend watching the following demo video that showcases how to leverage and configure native SharePoint capabilities that enable the functionality without write any code and equally easy enough to follow for the average SharePoint user.
Solution Overview
Purely for the sake of clarification, Microsoft did not remove the capability to provision an Assets Library to store image, audio, or video files. They nonetheless fail to inform users that in order to Create an Asset Library per that article you first need to activate the Video and Rich Media feature in the Site Settings -> Site Collection features. Having activated that feature and provisioned an Assets library in your site you can thereafter read related articles such as Upload video, audio, or pictures to an Asset Library.
The creation of an Asset library is not relevant for the scope of the steps detailed below.
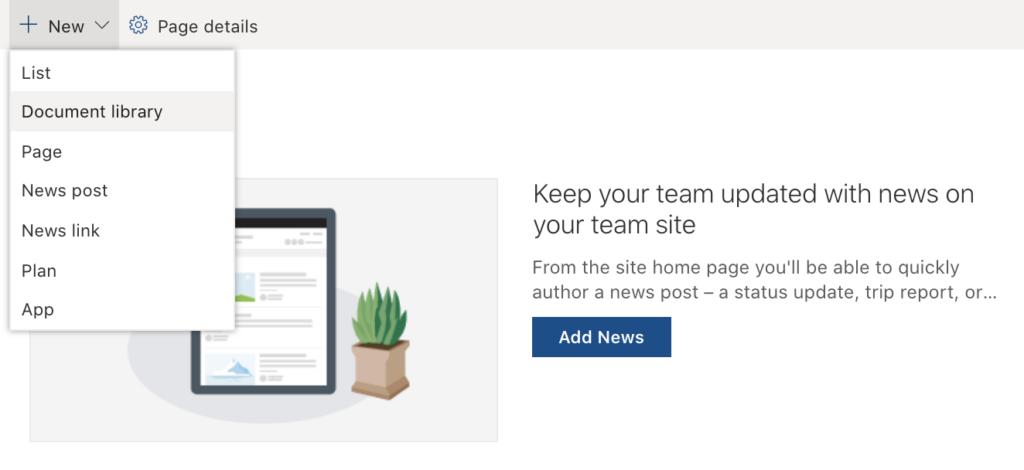
Create a new Document library.
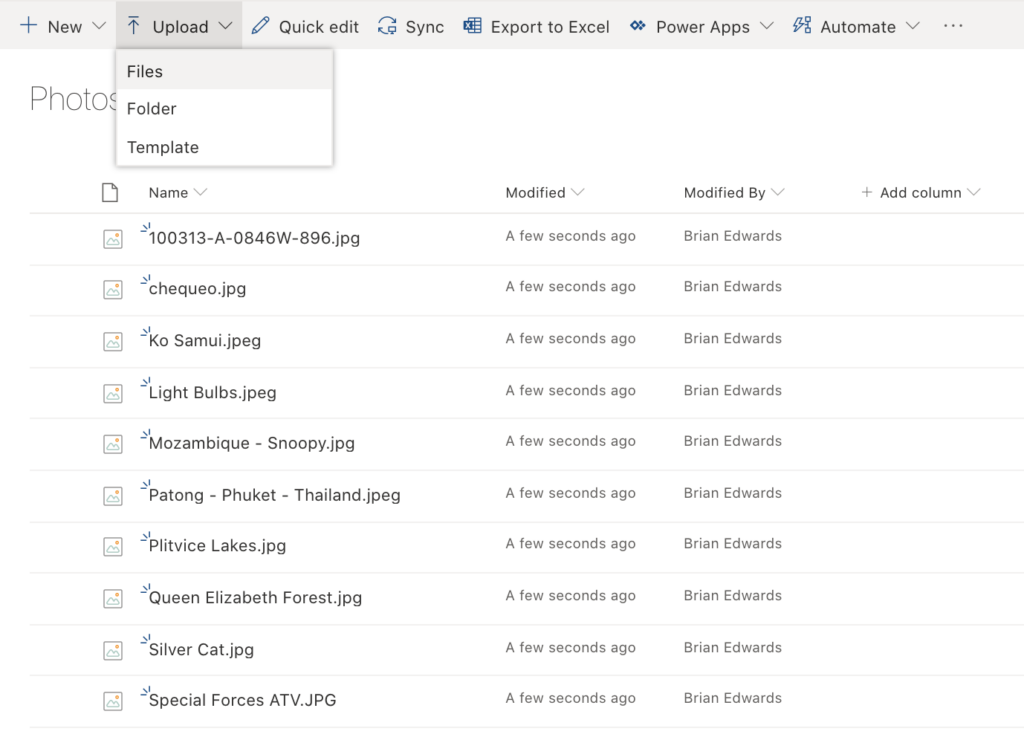
In the new Document library upload about 10 or so files you know should have EXIF metadata embedded within the photos.
Hide the Modified and Modified By columns from the default view:
Add column -> Show/Hide Columns
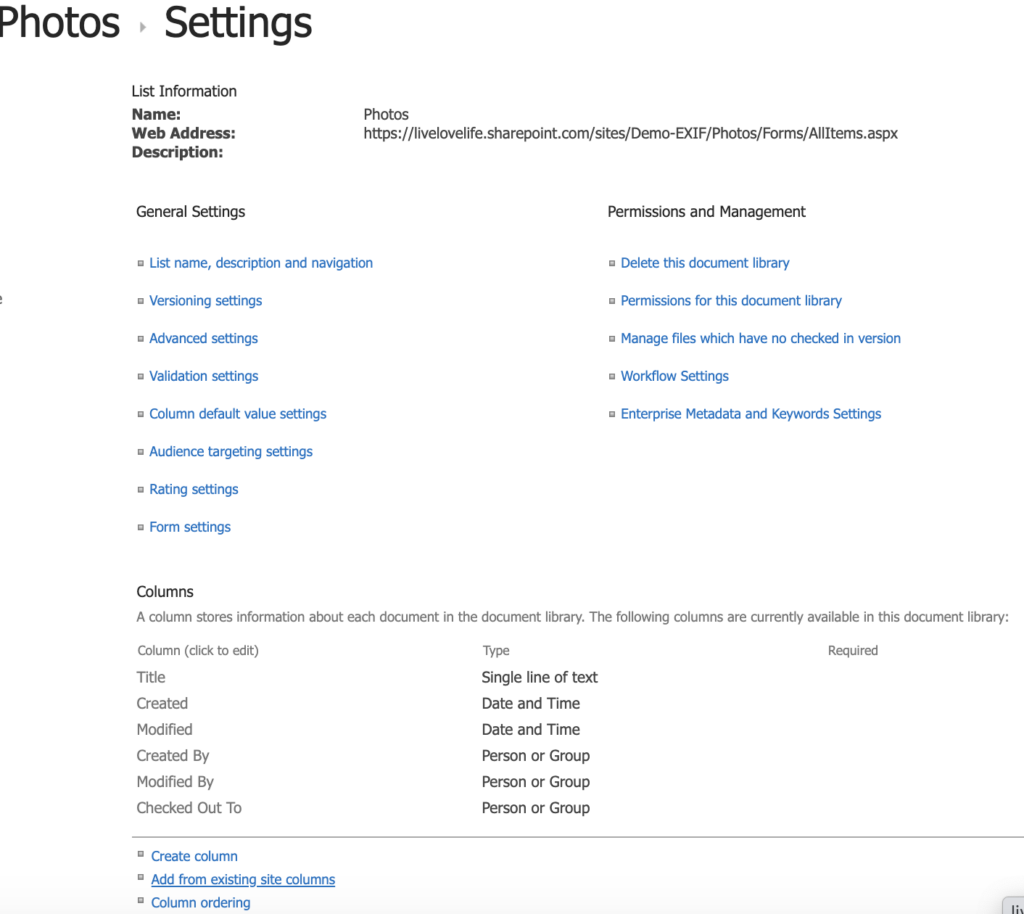
In the library Settings page for the new Document library note the default columns provisioned when the new library was created in the Columns section on the page.
In that same section:
Click -> Add from existing site columns
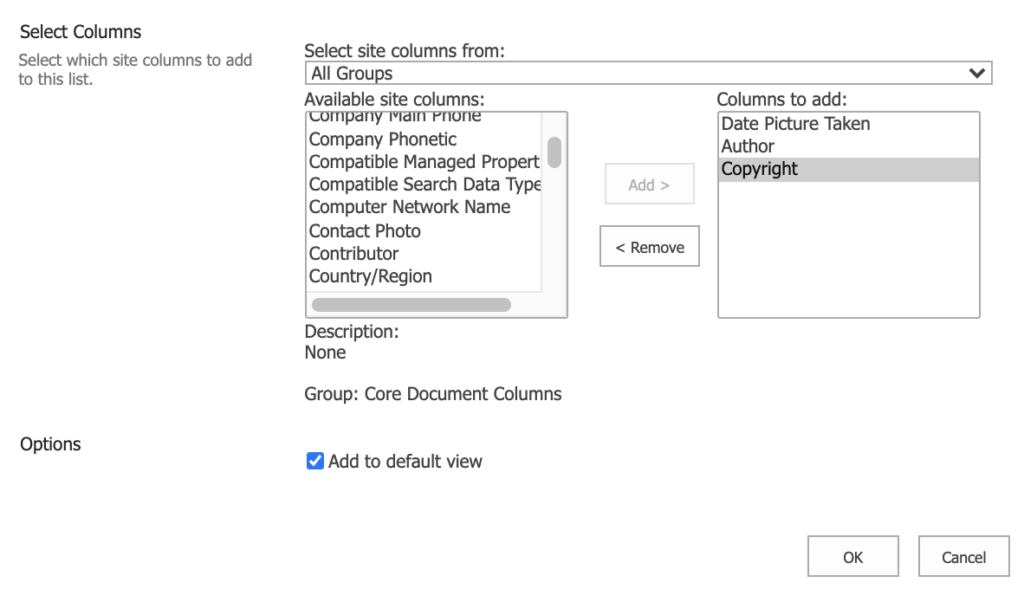
On the Add Columns from Site Columns page add:
- Date Picture Taken
- Author
- Copyright
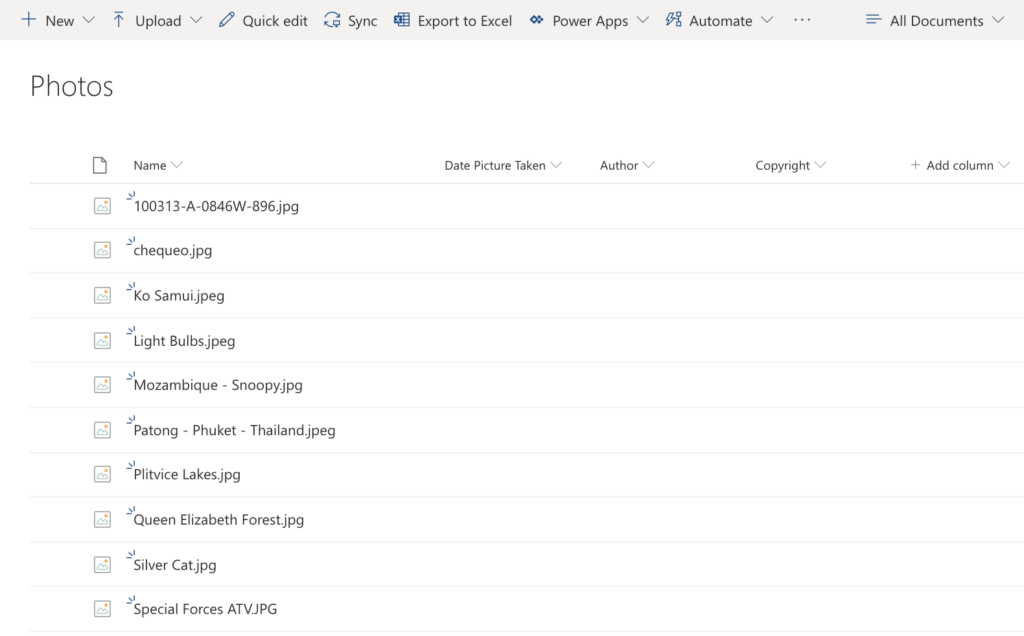
Navigate back to the default view for the new Document library.
Notice that for the 3 new site columns added to the library contain no values for any of the new columns added for the set of photos you’ve previously uploaded.
Delete all the files in the library.
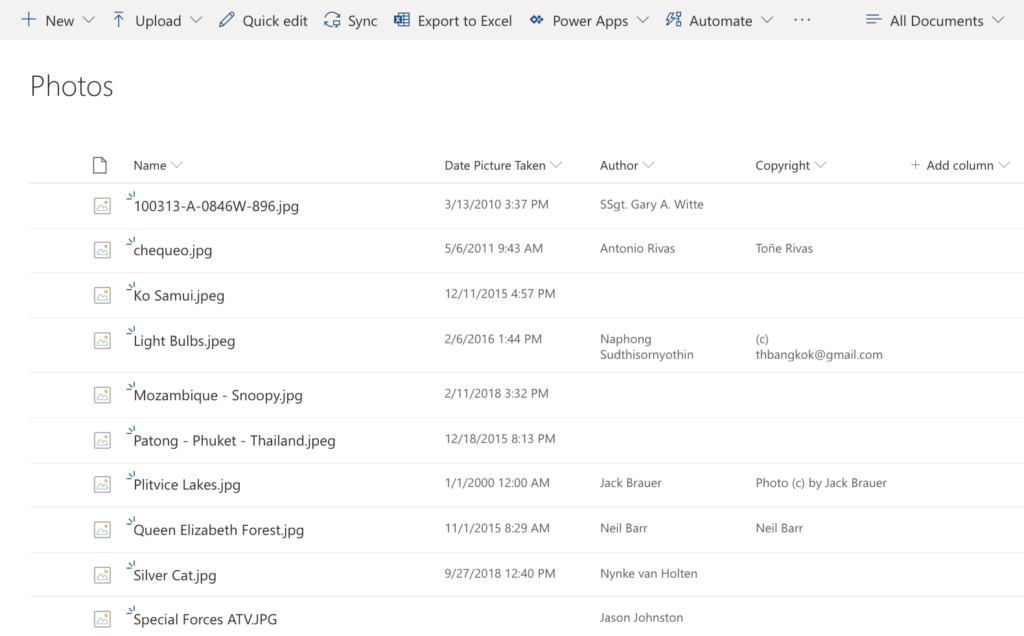
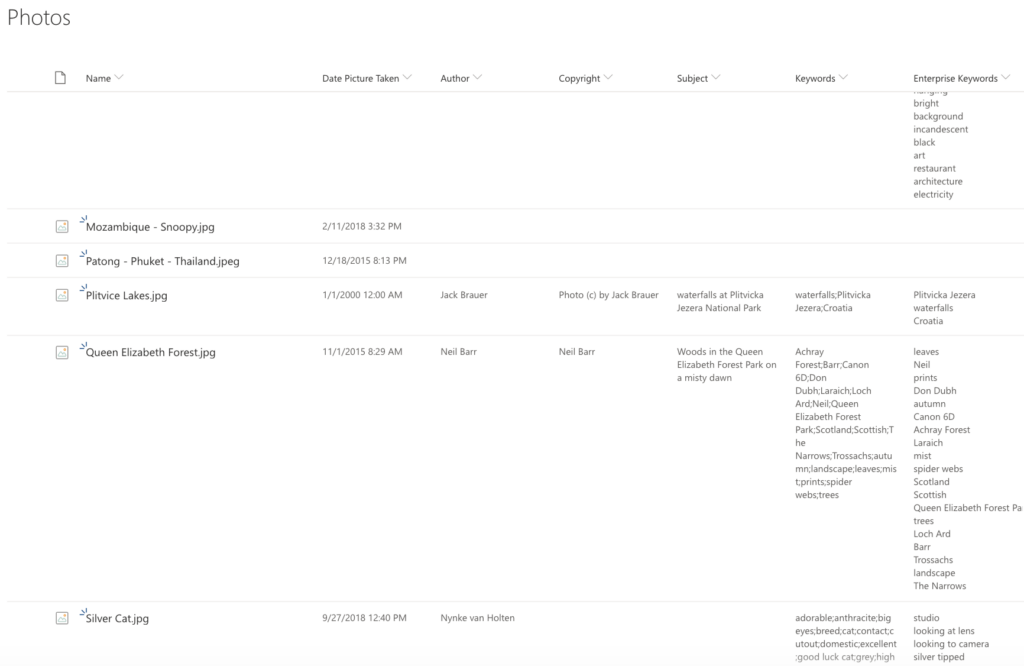
Having deleted all the photos from the library, upload the same set of files to the library. Observe the default view *should now depict the same set of files, however this time with the additional 3 EXIF metadata properties embedded in the photos (where present).
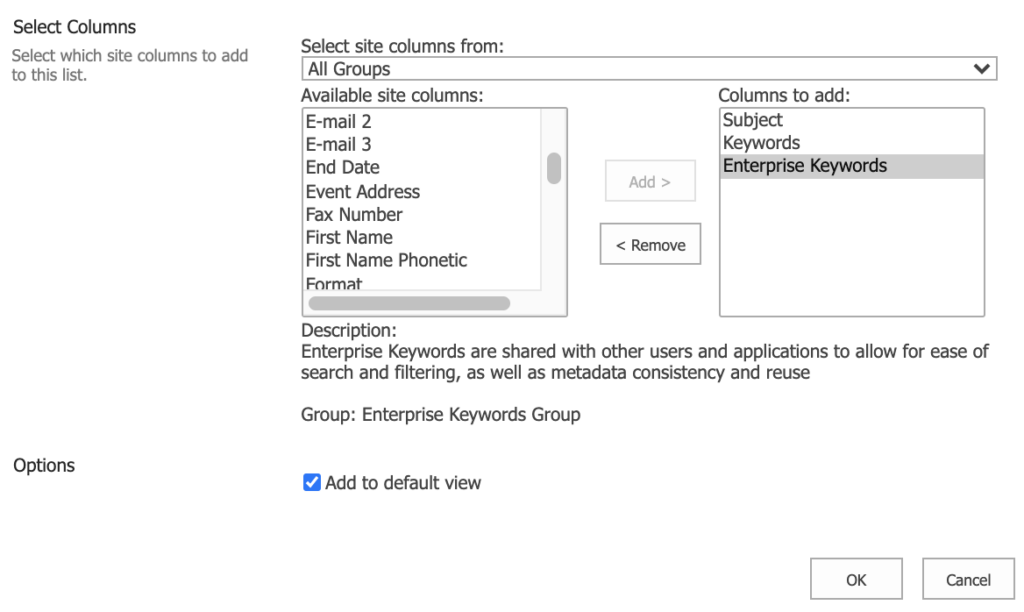
Navigate back to the Add Columns from Site Columns page:
Library settings -> Add from existing site columns
- Subject
- Keywords
- Enterprise Keywords
- Comments
- Language
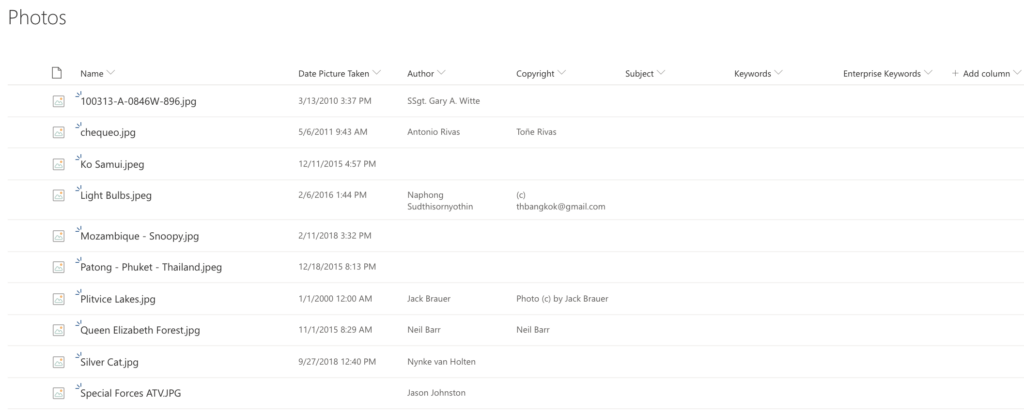
Navigate back to the default view for the new Document library.
Notice that for the 3 additional site columns added to the library contain no values for any of the new columns added for the set of photos you’ve previously uploaded.
Delete all the files in the library.
Having deleted all the photos from the library, upload the same set of files to the library.
Observe the default view *should now depict the same set of files, however this time with the additional 6 EXIF metadata properties embedded in the photos (where present).
How awesome is that ???.
All donations for sharing gladly accepted or contact me to see how I may be able to help you with your own solution requirements.
Hi Brian, thanks for sharing this.
I watched the video and followed the instructions but the EXIF Meta data doesn’t show in the columns on my end as it shows in your video or blog.
I’ve followed these steps.
1. Create new site
2. Activate Video & Rich Media under Site Settings -> Site Collection features
3. Add Asset Library: Home -> New -> App -> Asset Library (unsure how this is used)
4. Create new Document library
5. Add from existing site columns “Date Picture taken”, author, copyright
6. Upload image (where EXIM properties show in Win10)
7. Columns not populated as shown in your blog :-(.
Am I missing something here?
Hi John,
Apologies for the very much delayed response.
With regards to your comments:
Per you 3rd point – you do not need to add an Asset Library to your site. Accordingly your observation insofar as how it’s used is valid as it isn’t used or required.
Equally the steps you followed are by all accounts 100% correct as I documented in the blog.
Given your findings shared I decided to retest this process in my SharePoint environment exactly as you described such that I created a new site, activated the site collection Video & Rich Media feature, created a new Document Library, and finally added the 3 existing site columns noted in addition to a few others (Subject, Keywords & Enterprise Keywords).
I then uploaded a few files containing those metadata fields to the Library and for me at least the metadata in the addtional columns added to the library were again populated in this new site, inline with the outcomes shared in the blog. As such I don’t believe any fuctionality originally enabling this in SharePoint has since changed nor been deprecated.
To perhaps troubleshoot, I would suggest downloading the files you have uploaded to the new SharePoint library, such that you can check EXIF properties on those files are still present and viewable in Windows 10. I am using a MacBook and the behavioural uploaded files to SharePoint may possibly be different albeit highly improbable (in my opinion).
Regards,
Brian
Hi Brian! Thanks for that great tutorial!
I’m stuck already after the first deletion and re-upload: Sharepoint does not show the EXIF data.
I thought it is related to this issue:
https://docs.microsoft.com/de-de/sharepoint/troubleshoot/administration/automatic-exif-property-import-unsupported
Solution: some CSOM-script execution?
No clue what to do…any hints?
Thanks and best regards! Florian
Would it be possible to get it as a solution that can be imported on the power platform? I get an error stating the it is an old format. It would be much appreciated.
If you take a look at another blog I’ve posted, I’ve done exactly that, including sharing a demo Power App I created (with 2 Power Automate flows):
Power Apps, Power Automate & SharePoint Media Service Metadata Magic – Part 2
Hi there
Unfortunately this has not worked for me.
I followed exact same steps as described above and I’m using sharepoint online.
Have you tested this recently?
Please advise?
i look forward to your reply
Thanks!
Thusara
Brian,
Thanks a lot for these explanations.
I run the IT for a non profit organisation and needed a good way to add photo’s to the SharePoint site.
I first looked at your Powerapp and Flow Demo’s but did not fully understand these and also these do a lot more than I needed.
Then I saw your demo on just doing it with SharePoint sites columns and that was exactly what I was looking for.
So again great work work and thanks for sharing.
Awesome!
That was the intent with this blog after I realised most EXIF metadata can be surfaced natively within SharePoint by adding several existing site columns to a library, and equally calling out that the metadata will only be extracted for new files uploaded to the library after adding the additional site columns.
I also wanted to highlight that some of these site columns can equally be useful for documents (i.e. not only photos), such as Author, Subject, Keywords and Enterprise Keywords (and possibly others).
Thanks for letting me know it was of use to you.